Apple Crisp: The Ultimate Comfort Dessert for Every Season
Few desserts bring the feeling of warmth, comfort, and nostalgia quite like apple crisp. Whether you’re sitting around a cozy fire on a chilly autumn evening or craving a simple sweet treat any time of year, apple crisp delivers with its tender, cinnamon-spiced baked apples topped by a buttery, crunchy crumble. It’s a dessert that’s easy to make, endlessly adaptable, and loved by almost everyone who tries it.
In this blog post, I want to share everything you need to know about making the perfect apple crisp from scratch. We will explore the best apples to use, how to balance tartness and sweetness, and the secret to that irresistible crisp topping. Plus, you’ll get a step-by-step guide, tips to elevate your apple crisp, and ideas for serving.
Why Apple Crisp Is a Timeless Dessert
Apple crisp has a kind of rustic charm that few other desserts can match. Unlike the more formal apple pie with its intricate crust, apple crisp is forgiving, quick to prepare, and still packed with flavor. Here are some reasons why apple crisp holds a special place in many hearts:
- Simple ingredients: You likely have everything you need in your pantry and fridge.
- Easy to customize: Swap out spices, nuts, or apples to suit your taste or what’s on hand.
- Great for any occasion: It works as a casual weeknight dessert or a holiday showstopper.
- Warm and comforting: The cinnamon, sugar, and baked apples create that cozy feeling in every bite.
- Perfect with toppings: Ice cream, whipped cream, or caramel sauce take it to the next level.
Ingredients for Classic Apple Crisp
For the Filling:
- 6 to 7 medium apples (about 3 pounds) — a mix of tart and sweet apples works best
- 1/2 cup granulated sugar
- 1/4 cup brown sugar (adds depth and moisture)
- 1 teaspoon ground cinnamon
- 1/4 teaspoon ground nutmeg
- 1 teaspoon vanilla extract (optional but recommended)
- 1 tablespoon lemon juice (prevents apples from browning and brightens flavor)
- 2 tablespoons all-purpose flour or cornstarch (thickens the juices)
For the Crisp Topping:
- 1 cup old-fashioned rolled oats
- 1/2 cup all-purpose flour
- 1/2 cup packed brown sugar
- 1/4 teaspoon salt
- 1 teaspoon ground cinnamon
- 1/2 cup unsalted butter, cold and cut into small cubes
- 1/2 cup chopped nuts (optional, walnuts or pecans work great)
Choosing the Right Apples
Not all apples are created equal when it comes to baking. You want apples that will hold their shape without turning mushy and balance sweetness with a little tartness for flavor complexity. Some of the best apples for crisp are:
- Granny Smith (firm and tart)
- Honeycrisp (sweet-tart and juicy)
- Braeburn (balanced and crisp)
- Fuji (sweet and crunchy)
- Jonagold (slightly tart and sweet)
Feel free to mix different varieties to achieve a great balance of texture and taste.
Step-by-Step Instructions for Apple Crisp
Step 1: Preheat the Oven and Prepare the Baking Dish
Set your oven to 350°F (175°C) and grease a 9×13-inch baking dish with butter or non-stick spray. The size ensures even baking and enough room for the apples and topping.
Step 2: Peel, Core, and Slice the Apples
Peel your apples if you prefer a smooth texture, or leave the skins on for more rustic bite and nutrients. Core and thinly slice them evenly so they cook uniformly.
Place the sliced apples in a large mixing bowl.
Step 3: Mix the Apple Filling
To the bowl of apples, add the granulated sugar, brown sugar, cinnamon, nutmeg, lemon juice, vanilla extract, and flour or cornstarch.
Toss gently but thoroughly until all the apple slices are well coated with the sugar and spices. This mixture will create the sweet, thick, and flavorful filling once baked.
Step 4: Prepare the Crisp Topping
In a separate medium bowl, combine the rolled oats, flour, brown sugar, salt, and cinnamon.
Add the cold, cubed butter to the dry ingredients. Using your fingers or a pastry cutter, work the butter into the mixture until it resembles coarse crumbs with pea-sized bits. This texture is crucial for that perfect crumbly topping.
If using nuts, stir them in last for added crunch.
Step 5: Assemble the Apple Crisp
Pour the apple filling into the prepared baking dish and spread evenly.
Sprinkle the oat crumble topping over the apples, covering the surface as much as possible.
Step 6: Bake the Apple Crisp
Place the dish in the preheated oven and bake for 45 to 55 minutes, until the topping is golden brown and the apple filling is bubbly.
If the topping browns too quickly, cover loosely with aluminum foil for the remaining baking time.
Step 7: Cool Slightly and Serve
Allow the apple crisp to cool for about 10-15 minutes after baking. This helps the filling set a bit and makes serving easier.
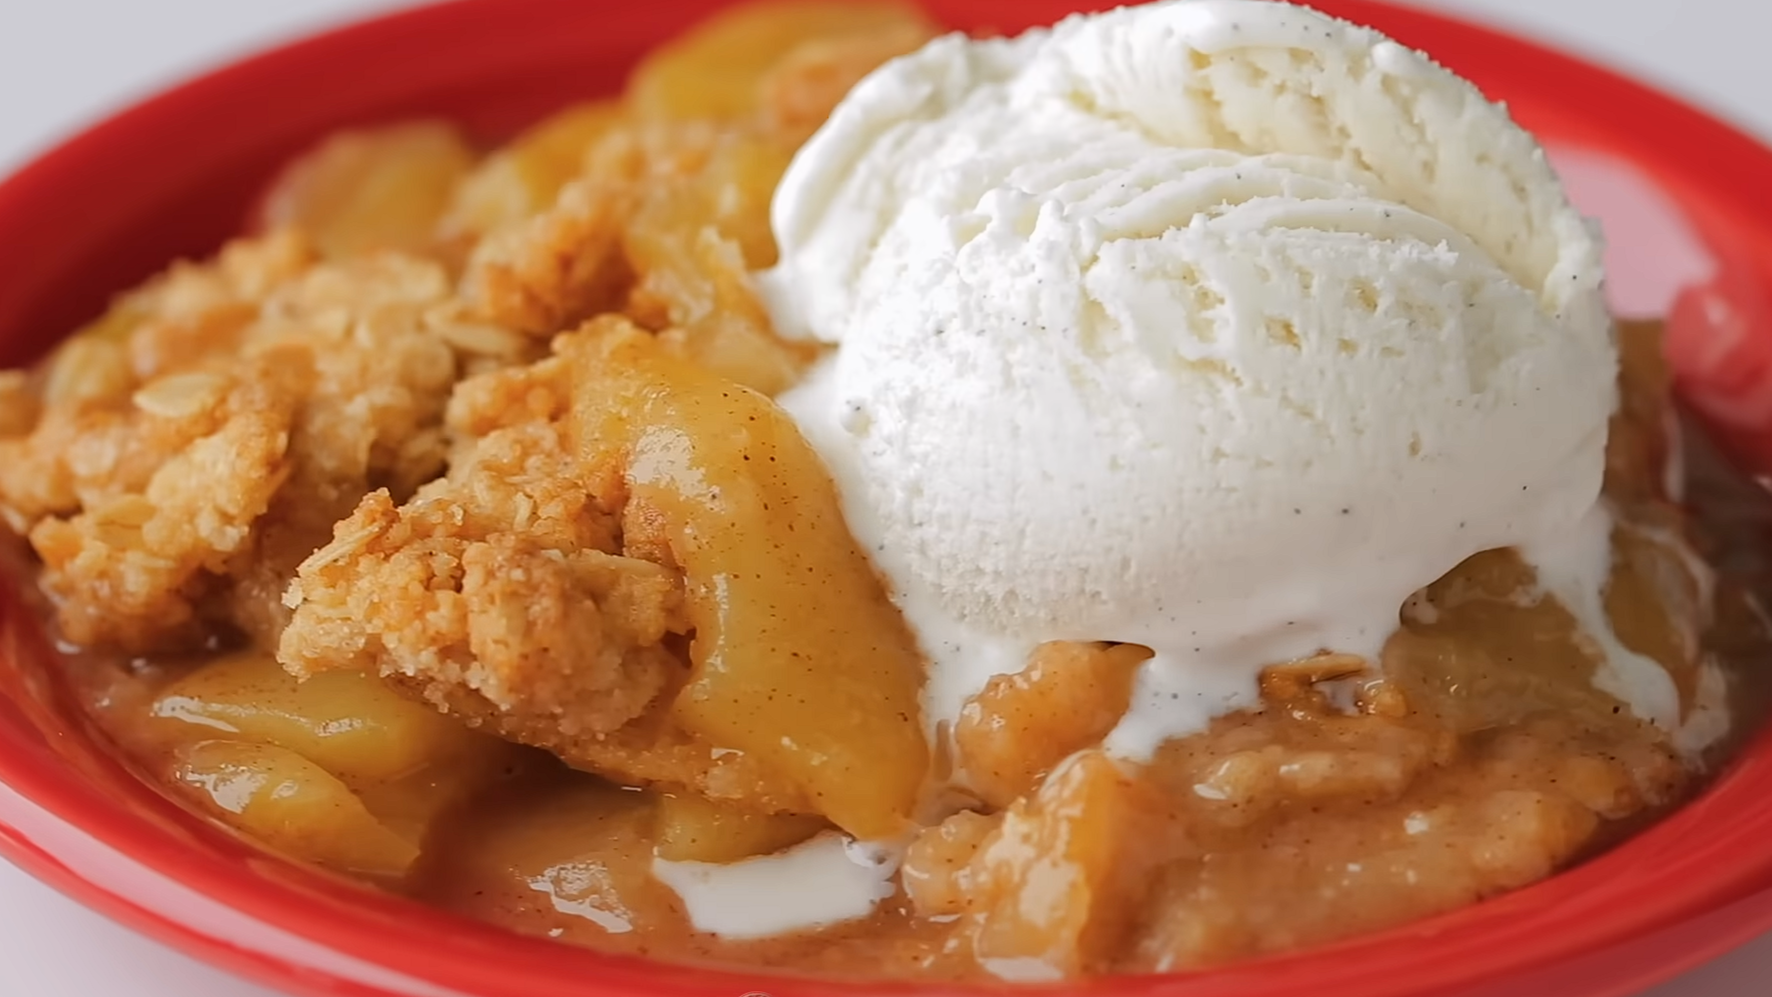
Serve warm with your choice of toppings.
Delicious Serving Suggestions
Apple crisp is wonderful on its own, but pairing it with the right accompaniments truly elevates the experience:
- Vanilla ice cream: The cold creaminess pairs perfectly with warm apples and crumbly topping.
- Whipped cream: A dollop adds light sweetness and creaminess.
- Caramel sauce: Drizzle some for extra indulgence.
- Greek yogurt: For a tangy, healthier contrast.
- Coffee or chai tea: Perfect drinks to accompany this cozy dessert.
Tips for Making the Best Apple Crisp
- Use fresh, firm apples: Avoid mushy or overly ripe apples that can turn the filling watery.
- Don’t skip the lemon juice: It prevents browning and balances the sweetness.
- Cold butter is key: Warm butter will create a greasy topping rather than crumbly.
- Mix with your fingers: This gives you the best texture for the topping.
- Try a mix of sugars: Brown sugar adds moisture and depth, while granulated sugar adds sweetness.
- Add texture: Nuts or shredded coconut can add a fun twist.
- Let it rest: Cooling slightly improves the texture and flavor.
- Double the topping: For extra crunch, make more topping and spread a thick layer.
- Make it ahead: Prepare and assemble the crisp a day in advance and bake just before serving.
Variations to Try
- Pear Crisp: Substitute pears for apples for a softer, sweeter twist.
- Berry Apple Crisp: Add blueberries, raspberries, or blackberries to the filling.
- Gluten-Free: Use gluten-free oats and flour alternatives.
- Vegan: Swap butter with coconut oil or vegan butter substitutes.
- Spiced Up: Add ginger, cloves, or allspice to the filling for more warming spices.
- Maple Syrup: Use maple syrup instead of honey or sugar for a different sweetness.
Frequently Asked Questions About Apple Crisp
Can I use frozen apples for apple crisp?
Frozen apples work, but they tend to release more water. If using frozen, thaw and drain excess liquid before mixing with sugar and spices.
How do I store leftover apple crisp?
Store leftovers in an airtight container in the refrigerator for up to 4 days. Reheat gently in the oven or microwave.
Can I freeze apple crisp?
Yes! Freeze before baking or freeze leftovers in a freezer-safe container for up to 3 months. Thaw overnight before reheating.
Is apple crisp healthier than apple pie?
It depends on the recipe, but apple crisp generally uses less butter and sugar and no pie crust, making it a lighter option.
What is the difference between apple crisp and apple crumble?
In some places, the terms are used interchangeably. Traditionally, apple crisp includes oats in the topping, while apple crumble does not.
Final Thoughts on Apple Crisp
Apple crisp is more than just a dessert — it’s a warm hug on a plate. It’s the kind of dessert that brings back memories of family dinners, fall festivals, and festive holidays. Its simplicity is its strength, allowing fresh, seasonal apples to shine while the buttery, sweet topping adds the perfect crunchy contrast.
This recipe is approachable enough for bakers of any skill level and flexible enough to adjust based on your preferences or pantry supplies. The aroma filling your kitchen as it bakes is a reward all on its own.
I hope you try making this apple crisp soon and find the same joy and comfort in it that so many others do. It’s a timeless classic that deserves a spot in your dessert rotation.
Enjoy every warm, cinnamon-kissed bite.