Red Velvet Cake: The Ultimate Guide to Baking the Perfect Classic Dessert
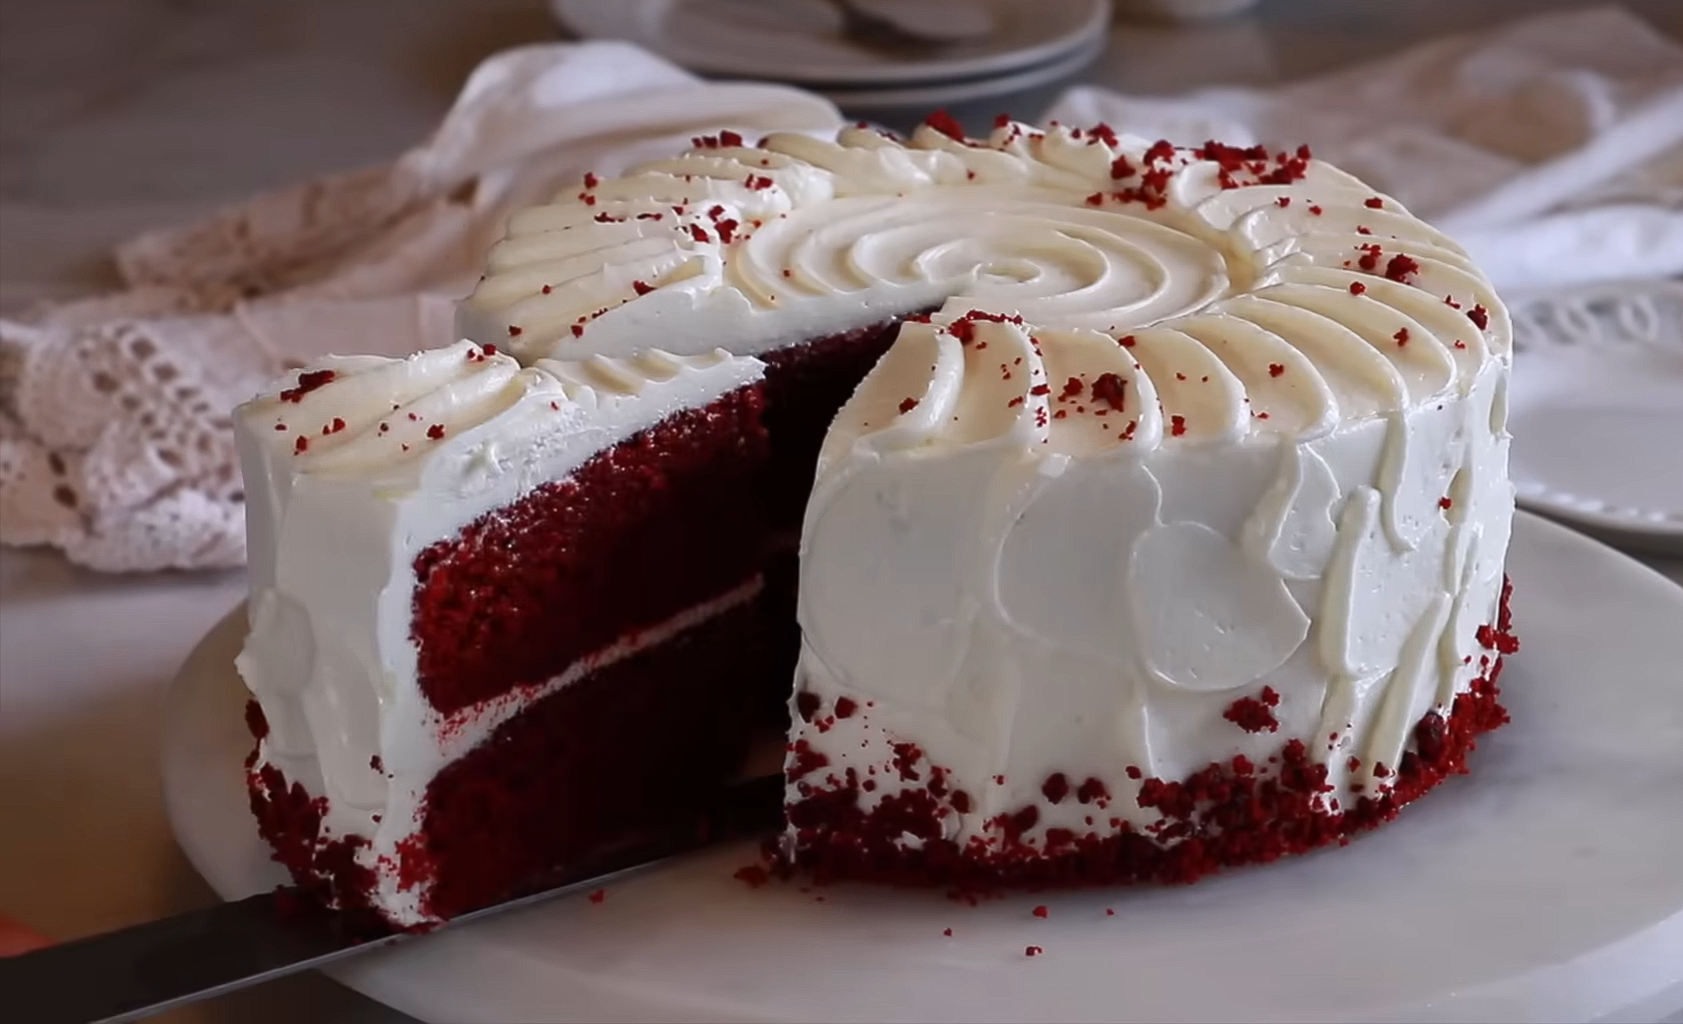
There’s something truly special about Red Velvet Cake. Its vibrant red color, tender crumb, and silky cream cheese frosting make it a standout dessert that is beloved by many. Whether for a birthday, holiday celebration, or just because, Red Velvet Cake has a way of making any occasion feel festive and indulgent.
But despite its popularity, baking a perfect Red Velvet Cake can sometimes feel intimidating. How do you get that brilliant red color without sacrificing flavor? What makes the texture so soft and moist? And how do you make a frosting that complements the cake without being too sweet or heavy?
If you’ve ever wondered these questions or wanted to bake a Red Velvet Cake from scratch with confidence, you’re in the right place. In this blog post, I will walk you through everything you need to know — from selecting the best ingredients and understanding the science behind Red Velvet, to step-by-step baking instructions, tips for flawless frosting, and even troubleshooting common issues.
By the end, you’ll have the knowledge and inspiration to bake a show-stopping Red Velvet Cake that tastes just as incredible as it looks.
What Is Red Velvet Cake?
Red Velvet Cake is a classic American dessert with a fascinating history. Its signature characteristics include:
- A striking red color, traditionally achieved with red food coloring or natural alternatives.
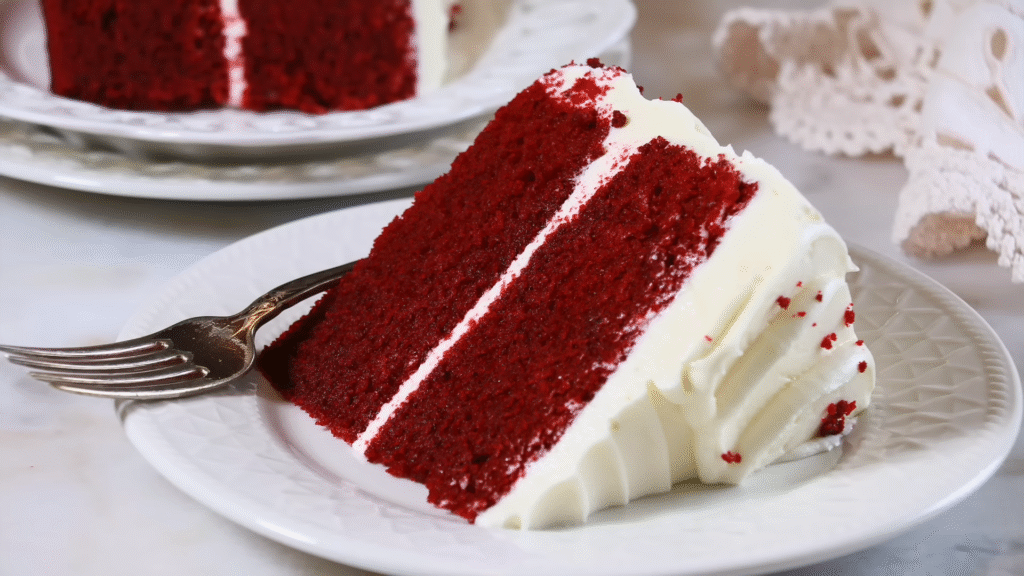
- A tender, moist crumb that is both soft and slightly dense.
- A subtle chocolate flavor, often from the addition of cocoa powder.
- A tangy, creamy frosting — usually cream cheese-based — that balances the cake’s sweetness.
The origins of Red Velvet Cake date back to the early 20th century. Some say it gained fame during the Great Depression, when vinegar and buttermilk were used to create chemical reactions that made the cake’s texture soft and the color deeper. Others believe it was popularized by the Waldorf-Astoria Hotel in New York during the 1920s.
No matter its beginnings, Red Velvet has become a staple for celebrations, loved for its eye-catching color and delightful flavors.
Why Bake Red Velvet Cake From Scratch?
Making Red Velvet Cake from scratch is more rewarding than you might think. Here’s why:
- Control over ingredients: You can choose quality products and avoid artificial additives if you prefer.
- Customization: Adjust sweetness, texture, and color intensity based on your preferences.
- Freshness: Nothing beats the taste of homemade cake.
- Impress your guests: It shows effort and love when you bake a cake yourself.
- Learn baking skills: The techniques in this recipe will improve your overall baking confidence.
Ingredients for Red Velvet Cake
Before starting, gather the following ingredients. This recipe yields a two-layer 9-inch cake.
Dry Ingredients:
- 2 ½ cups (315 grams) all-purpose flour, sifted
- 1 ½ cups (300 grams) granulated sugar
- 1 teaspoon baking soda
- 1 teaspoon fine salt
- 1 tablespoon unsweetened cocoa powder
Wet Ingredients:
- 1 ½ cups (360 ml) vegetable oil (or light olive oil)
- 1 cup (240 ml) buttermilk, room temperature
- 2 large eggs, room temperature
- 2 tablespoons (30 ml) red food coloring (liquid or gel)
- 1 teaspoon pure vanilla extract
- 1 teaspoon distilled white vinegar
For the Cream Cheese Frosting:
- 8 ounces (225 grams) cream cheese, softened
- ½ cup (115 grams) unsalted butter, softened
- 4 cups (480 grams) powdered sugar, sifted
- 1 teaspoon pure vanilla extract
- Pinch of salt
Equipment Needed
- Two 9-inch round cake pans
- Mixing bowls
- Electric mixer or stand mixer
- Measuring cups and spoons
- Rubber spatula
- Cooling racks
- Offset spatula for frosting
Step-by-Step Instructions for Baking Red Velvet Cake
Step 1: Prep Your Pans and Oven
Preheat your oven to 350°F (175°C). Grease two 9-inch round cake pans with butter or non-stick spray, then lightly dust with flour. You can also line the bottoms with parchment paper circles for easier removal.
Step 2: Mix Dry Ingredients
In a large bowl, sift together the flour, cocoa powder, baking soda, and salt. Sifting helps break up any lumps and aerates the flour for a lighter cake texture. Set aside.
Step 3: Combine Wet Ingredients
In another bowl, whisk together the oil and sugar until well combined. Add the eggs one at a time, beating after each addition until smooth.
Add the red food coloring, vanilla extract, and vinegar. Whisk to combine thoroughly.
Step 4: Add Dry and Buttermilk Alternately
Add the dry ingredients to the wet ingredients in three parts, alternating with the buttermilk. Begin and end with the dry ingredients.
Mix gently on low speed or fold with a spatula until just combined. Avoid overmixing or the cake could become tough.
Step 5: Pour Batter Into Pans
Divide the batter evenly between the two prepared pans. Smooth the tops with a spatula.
Step 6: Bake the Cakes
Place the pans in the preheated oven. Bake for 25 to 30 minutes or until a toothpick inserted into the center comes out clean or with a few moist crumbs.
Avoid opening the oven door too early to prevent the cakes from sinking.
Step 7: Cool the Cakes
Once baked, remove the pans from the oven and let cool for about 10 minutes. Then, carefully run a knife around the edges, invert the cakes onto cooling racks, and peel off the parchment paper.
Allow cakes to cool completely before frosting. This prevents the frosting from melting.
How to Make Cream Cheese Frosting
Step 1: Beat the Cream Cheese and Butter
In a large bowl, beat the softened cream cheese and butter together with an electric mixer on medium speed until smooth and creamy, about 2-3 minutes.
Step 2: Add Powdered Sugar and Vanilla
Gradually add the sifted powdered sugar while continuing to beat on low speed. Once incorporated, add vanilla extract and a pinch of salt.
Increase speed to medium-high and beat for another 2-3 minutes until fluffy.
Step 3: Adjust Consistency
If the frosting is too thick, add a teaspoon of milk or heavy cream and mix. If too thin, add more powdered sugar.
How to Assemble and Frost Your Red Velvet Cake
Step 1: Level the Cakes
If the cakes have domed on top, use a serrated knife or cake leveler to trim them flat.
Step 2: Add the First Layer of Frosting
Place one cake layer on a serving plate or cake board. Spread a generous amount of frosting evenly over the top.
Step 3: Add the Second Cake Layer
Place the second cake layer on top of the frosting, pressing gently to level.
Step 4: Crumb Coat
Apply a thin layer of frosting around the sides and top of the cake to seal in crumbs. Chill for 20-30 minutes to set the crumb coat.
Step 5: Final Frosting Layer
Apply a thicker, even layer of frosting around the cake. Use an offset spatula or bench scraper for smooth edges.
Step 6: Decorate
If desired, garnish with cake crumbs, edible flowers, fresh berries, or sprinkles.
Tips for Baking the Best Red Velvet Cake
- Use Room Temperature Ingredients: Eggs, buttermilk, and butter should be at room temperature to ensure even mixing and smooth batter.
- Measure Flour Correctly: Spoon flour into your measuring cup and level it with a knife instead of scooping. Too much flour leads to dry cake.
- Don’t Overmix: Mix just until combined to keep your cake tender.
- Natural Red Coloring: For a natural alternative, use beet juice or powder, but expect a softer color.
- Test for Doneness: Check cakes with a toothpick at the 25-minute mark to avoid overbaking.
- Chill Before Frosting: Cooling cakes completely prevents melting frosting.
- Flavor Balance: The vinegar and cocoa create subtle acidity and depth, so don’t skip them.
- Make Ahead: Cake and frosting can be made a day ahead and stored separately in the fridge.
Common Mistakes to Avoid
- Pale or dull red cake: Use good quality red food coloring and add vinegar to help the color develop.
- Dense or dry texture: Avoid overmixing and measure ingredients carefully.
- Frosting too sweet or runny: Use cream cheese and butter at the right temperature and adjust powdered sugar gradually.
- Crumbs in frosting: Apply a crumb coat and chill before final frosting.
Variations to Try
- Red Velvet Cupcakes: Use this batter to make cupcakes for easier serving.
- Chocolate Ganache Drizzle: Add a rich chocolate ganache over the frosting for extra indulgence.
- Whipped Cream Frosting: Use whipped cream instead of cream cheese for a lighter cake.
- Add Nuts: Fold chopped pecans or walnuts into the batter for crunch.
- Vegan Version: Substitute flax eggs, plant-based milk, and vegan cream cheese for a dairy-free option.
Frequently Asked Questions About Red Velvet Cake
Is Red Velvet Cake really chocolate cake?
Yes, it contains a small amount of cocoa powder which gives it a mild chocolate flavor, but it’s much lighter than traditional chocolate cake.
Why is vinegar used in Red Velvet Cake?
Vinegar reacts with baking soda to help the cake rise and tenderize. It also enhances the red color when combined with the cocoa powder.
Can I use regular milk instead of buttermilk?
You can make a buttermilk substitute by adding one tablespoon of vinegar or lemon juice to one cup of milk and letting it sit for 5 minutes.
How long does Red Velvet Cake keep?
It stays fresh in the refrigerator for up to 4 days when wrapped or stored in an airtight container.
Can I freeze Red Velvet Cake?
Yes. Wrap the cake tightly in plastic wrap and foil, then freeze for up to 3 months. Thaw overnight in the fridge before frosting.
Final Thoughts
Red Velvet Cake is a timeless dessert that combines stunning visuals with rich, balanced flavors. Baking this cake at home can feel like a rewarding challenge, but with the right ingredients and careful technique, you can create a moist, tender cake that rivals any bakery.
Remember, baking is as much about love and patience as it is about precision. Allow yourself to enjoy the process, from mixing the batter to frosting the final masterpiece. Whether you’re making this cake for a special occasion or a weekend treat, it’s sure to bring smiles and satisfaction.
I hope this guide empowers you to bake your perfect Red Velvet Cake. If you try it out, I’d love to hear how it goes or see photos of your creation. Happy baking!